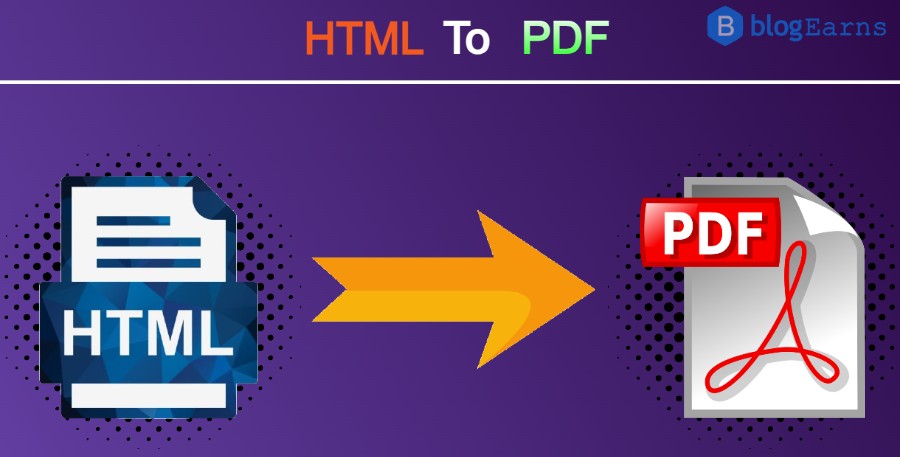
Convert HTML to PDF file – On Button Click
In this article, I will tell you how you can create PDF file from HTML. You must be wondering what’s new in this, we can convert HTML to PDF by simply pressing CTRL+P. My dear friend, you are right but the CTRL+P method allows you to print the entire page and not a particular section of the HTML file.
And being a website owner, you are not allowing users to create PDF, CTRL+P is the normal process. To make your website interactive and attractive, you should provide such facilities to your users so that they can stay on your website for longer.
Benefits of creating PDF from HTML: You can create invoices, make special notes, and create and download PDFs of any HTML section you want. Also useful in printing users’ records, printing sales records etc.
If you want to create HTML to PDF converter feature on your website, then you will love this article.
So, let’s learn how to convert HTML to PDF.
Requirement:
We will convert HTML to PDF using JavaScript and jQuery.
- JSPDF.js
- html2canvas.js
Steps for converting HTML to PDF
STEP 1: Create the HTML section you want to print. Here in this example, I am taking a company employee record to create a pdf.
<div class="printable" style="max-width: none; width: 1005px;">
  <h2 style="color: #0094ff">XYZ Ltd. Employee Record 2022-23</h2>
  <table>
  <tr>
  <th>Emp. No.</th>
  <th>Emp. Name</th>
  <th>Age</th>
  <th>Designation</th>
  <th>Salary</th>
  </tr>
  <tr>
  <td>EM001</td>
  <td>John</td>
  <td>28</td>
  <td>Software Developer</td>
  <td>65,000</td>
  </tr>
  <tr>
  <td>EM002</td>
  <td>Sarah</td>
  <td>32</td>
  <td>Content Writer</td>
  <td>45,000</td>
  </tr>
  <tr>
  <td>EM003</td>
  <td>David</td>
  <td>24</td>
  <td>Network Engineer</td>
  <td>55,000</td>
  </tr>
  <tr>
  <td>EM004</td>
  <td>Eric John</td>
  <td>34</td>
  <td>SEO</td>
  <td>53,000</td>
  </tr>
  </table>
  <br />
  <p><b>Note: </b>This is just a Dummy record, we created this table record for demonstration purpose.</p>
</div>
STEP 2: To make the above table looks professional, we are going to add styling to it. This is purely optional.
<style>
      table {
          font-family: arial, sans-serif;
          border-collapse: collapse;
          width: 100%;
      }

      td, th {
          border: 1px solid #e4e6f8;
          text-align: left;
          padding: 8px;
      }

      tr:nth-child(even) {
          background-color: #e4e1e1;
      }
  </style>
STEP 3: Add a Print button wherever you want. This may be below or above the printable section.
<input type="button" id="create_pdf" value="Create PDF">STEP 4: Add the following two Scripts [CDN] in your HTML file to convert HTML to PDF
 <script src="https://code.jquery.com/jquery-1.12.4.min.js" integrity="sha256-ZosEbRLbNQzLpnKIkEdrPv7lOy9C27hHQ+Xp8a4MxAQ=" crossorigin="anonymous"></script>
 <script src="https://cdnjs.cloudflare.com/ajax/libs/jspdf/1.3.5/jspdf.min.js"></script>
STEP 5: Add other two scripts for converting the document.
<script>
      (function () {
          var
           form = $('.printable'),
           cache_width = form.width(),
           a4 = [595.28, 841.89]; // for a4 size paper width and height

          $('#create_pdf').on('click', function () {
              $('body').scrollTop(0);
              createPDF();
          });
          //create pdf
          function createPDF() {
              getCanvas().then(function (canvas) {
                  var
                   img = canvas.toDataURL("image/png"),
                   doc = new jsPDF({
                       unit: 'px',
                       format: 'a4'
                   });
                  doc.addImage(img, 'JPEG', 20, 20);
                  doc.save('');
                  form.width(cache_width);
              });
          }

          // create canvas object
          function getCanvas() {
              form.width((a4[0] * 1.33333) - 80).css('max-width', 'none');
              return html2canvas(form, {
                  imageTimeout: 2000,
                  removeContainer: true
              });
          }

      }());
  </script>
  <script>
      /*
   * jQuery helper plugin for examples and tests
   */
      (function ($) {
          $.fn.html2canvas = function (options) {
              var date = new Date(),
              $message = null,
              timeoutTimer = false,
              timer = date.getTime();
              html2canvas.logging = options && options.logging;
              html2canvas.Preload(this[0], $.extend({
                  complete: function (images) {
                      var queue = html2canvas.Parse(this[0], images, options),
                      $canvas = $(html2canvas.Renderer(queue, options)),
                      finishTime = new Date();

                      $canvas.css({ position: 'absolute', left: 0, top: 0 }).appendTo(document.body);
                      $canvas.siblings().toggle();

                      $(window).click(function () {
                          if (!$canvas.is(':visible')) {
                              $canvas.toggle().siblings().toggle();
                              throwMessage("Canvas Render visible");
                          } else {
                              $canvas.siblings().toggle();
                              $canvas.toggle();
                              throwMessage("Canvas Render hidden");
                          }
                      });
                      throwMessage('Screenshot created in ' + ((finishTime.getTime() - timer) / 1000) + " seconds<br />", 4000);                    }
              }, options));

              function throwMessage(msg, duration) {
                  window.clearTimeout(timeoutTimer);
                  timeoutTimer = window.setTimeout(function () {
                      $message.fadeOut(function () {
                          $message.remove();
                      });
                  }, duration || 2000);
                  if ($message)
                      $message.remove();
                  $message = $('<div ></div>').html(msg).css({
                      margin: 0,
                      padding: 10,
                      background: "#000",
                      opacity: 0.7,
                      position: "fixed",
                      top: 10,
                      right: 10,
                      fontFamily: 'Tahoma',
                      color: '#fff',
                      fontSize: 12,
                      borderRadius: 12,
                      width: 'auto',
                      height: 'auto',
                      textAlign: 'center',
                      textDecoration: 'none'
                  }).hide().fadeIn().appendTo('body');
              }
          };
      })(jQuery);
  </script>
Output console

Output Screenshot of Generated PDF